Make Your Own 91-Space Hexagonal Board
by Fergus Duniho
- Introduction
- Options
- How I Made My Own Board
- Advance Warning About Kinkos
- Building Blocks for More Hexagonal Boards
Introduction
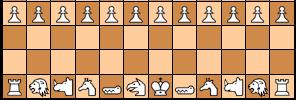
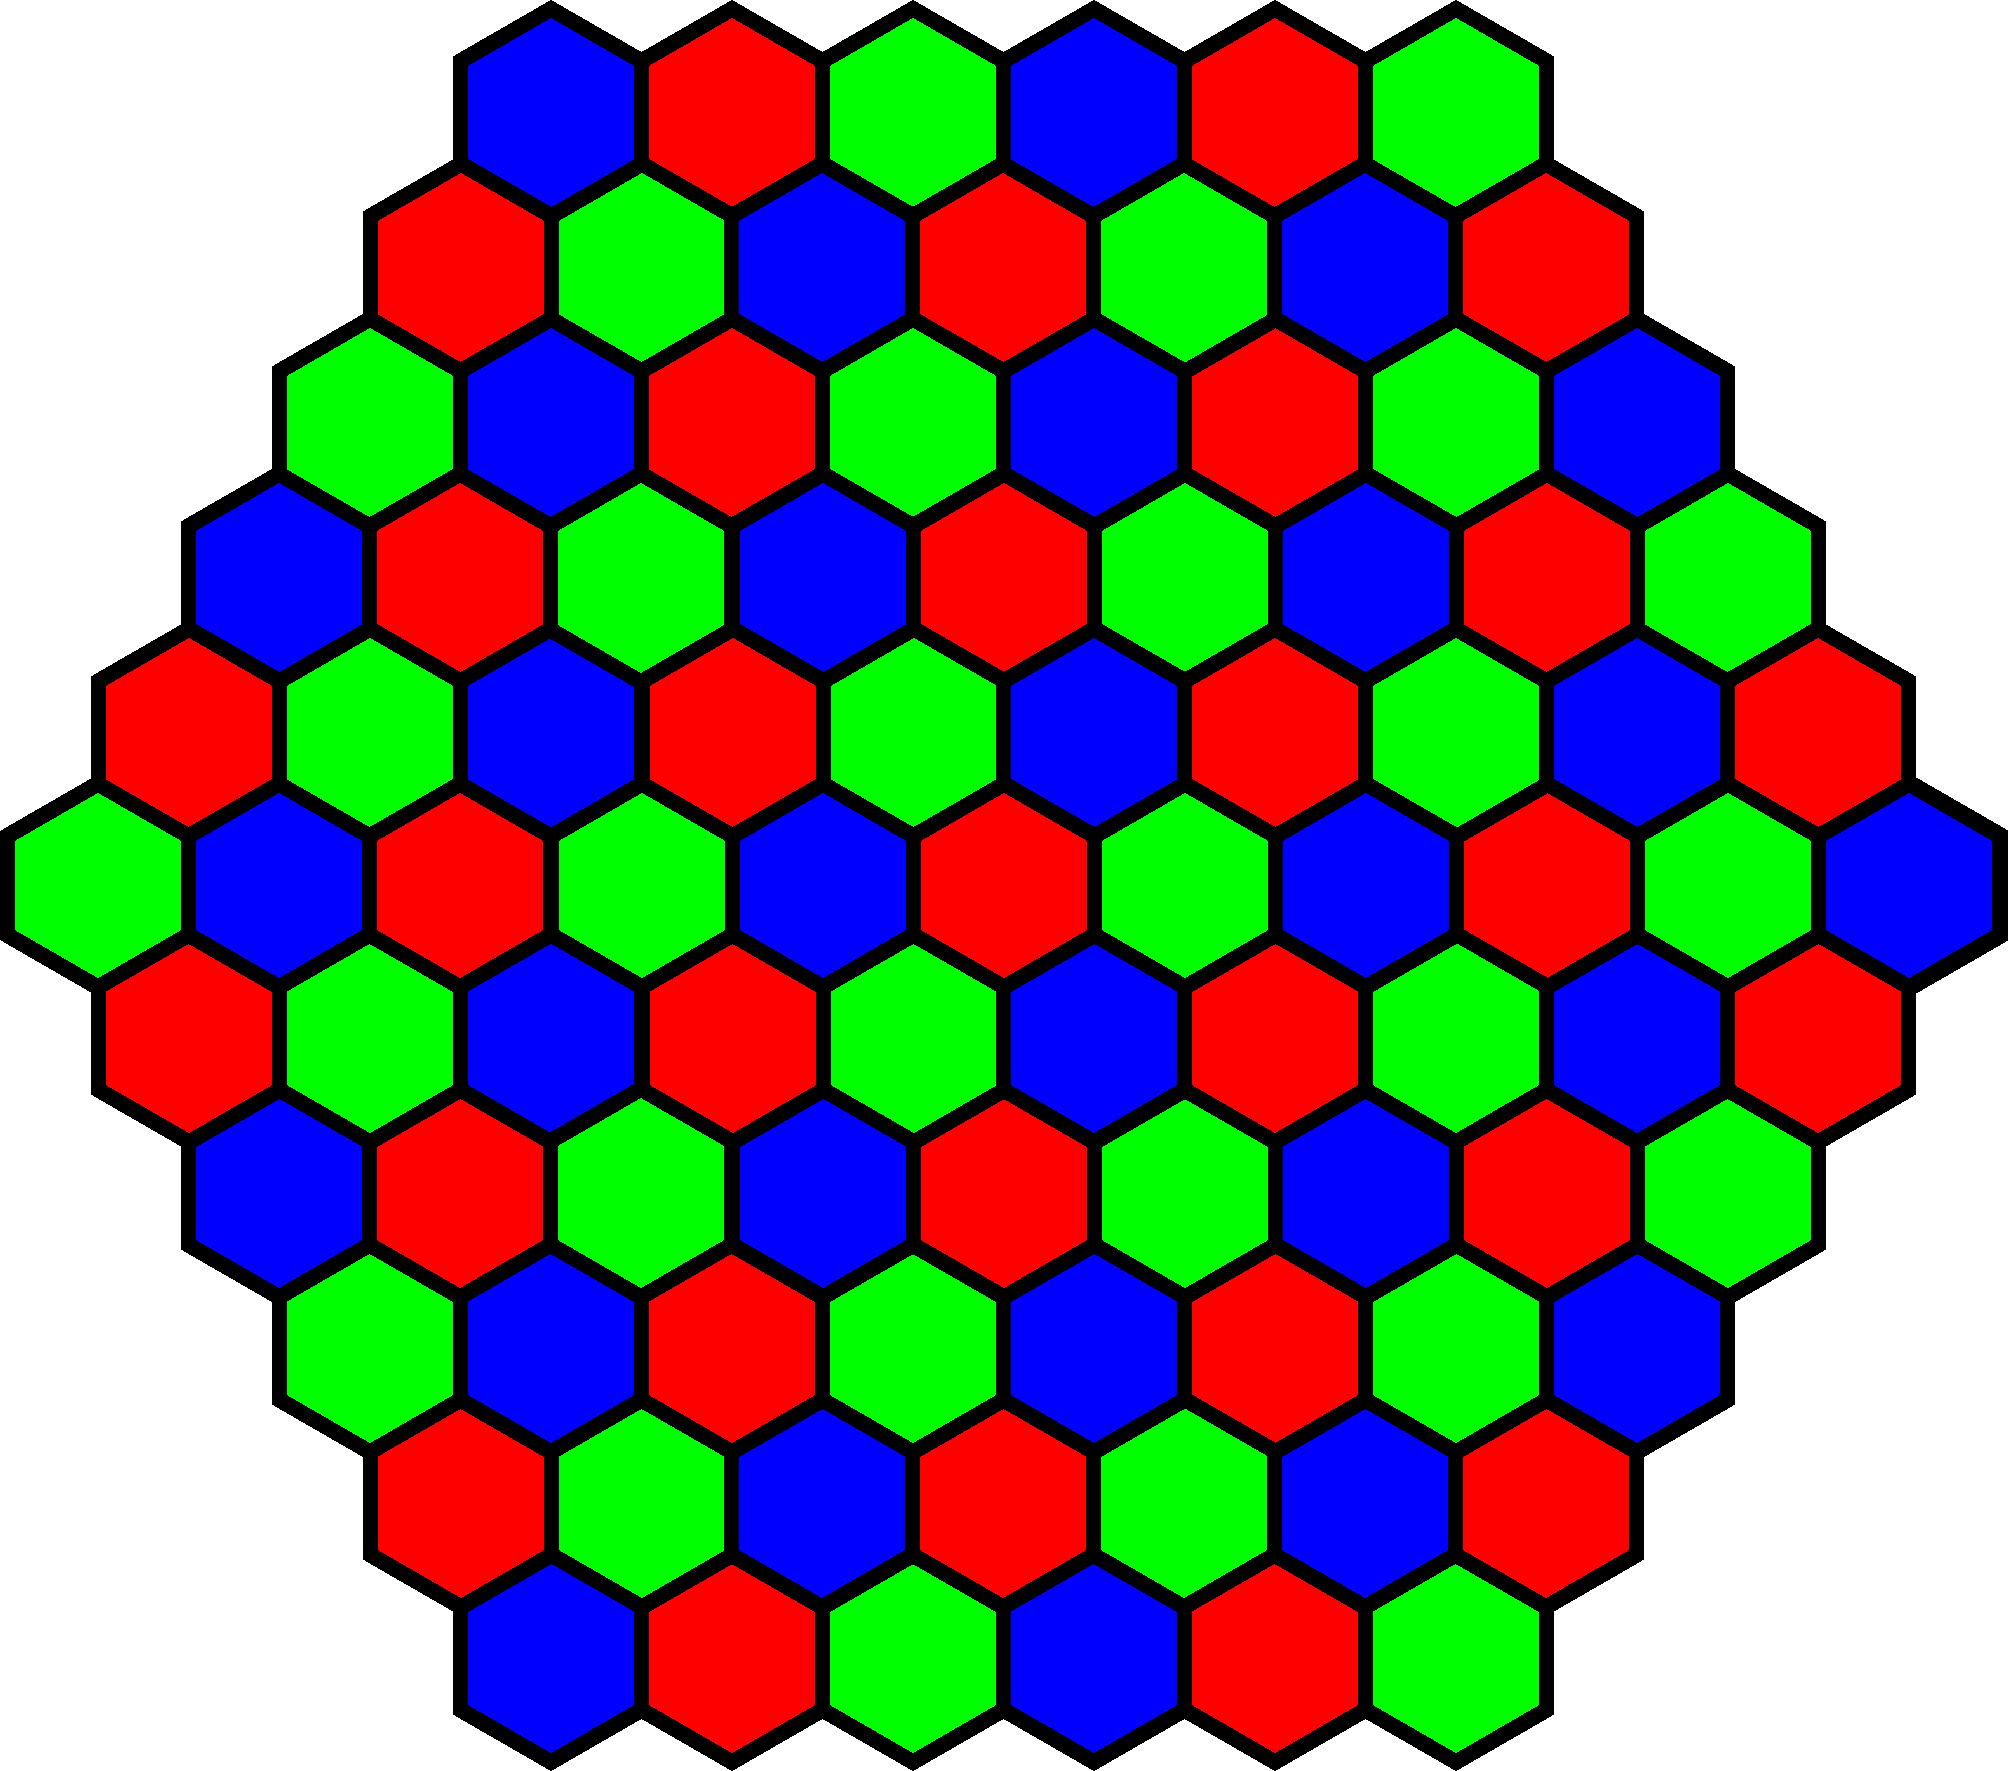
This page provides you with graphic images you can print out for use as a hexagonal board with 91 spaces. The 91-space hexagonal board is used for such games as these:
You have three main options. You can print the board out as a single file, as four quarters, or as six pieces. Generally, printing it as multiple pieces allows for larger boards. The single file option is good for printing a small board for use with small pieces, but you could also take it to a copy center and get it printed as one large poster. Whatever option you choose, it is generally good to use the best fit option when printing. This will resize the image to the best fit on whatever you're printing on. If you go to a copy center, be sure to ask for this. If you print at home, use a graphics program that gives you this option.
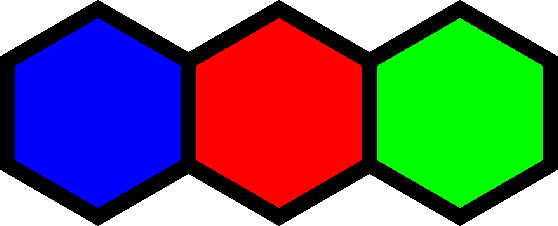
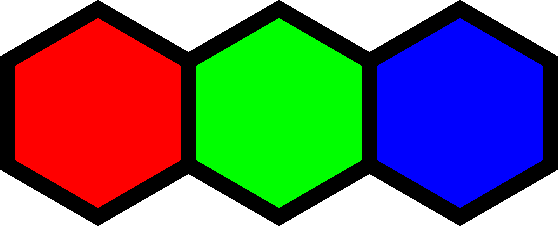
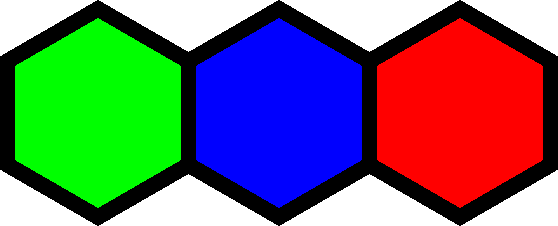
The colors of the board are red, green, and blue, because these are the three colors the cones of the human eye naturally distinguish between. If you prefer other colors, you can edit the board images in a graphics program before printing them. If you come up with a color scheme that you think is better, please consider submitting it to this site for inclusion on this page.
The Single File Option
Here are some possible uses for the single file option:
1) Print it onto letter or A4 sized cardstock or sticker paper.
A cardstock board would be more durable than paper, and it would be easily portable and usable with tiny Chess pieces. Sticker paper could be applied to a more durable surface, such as a small magnetic chessboard. If you do this, you should take measurements before printing anything out. You may need to adjust the size of the printout to make it fit what you want to put it on. Printing in landscape mode will give you the largest possible board, which measures about 9x8 inches. Printing in portrait mode will give you a board measuring about 8x7 inches. If you want to apply it to something smaller, such as a small magnetic chessboard, try expanding the margins before printing onto sticker paper.
2) Get it printed as a large poster.
If you do this, you may have your choice of what size to print it at. For tournament sized pieces and for my Symbolic Shogi pieces, which can be made as a separate craft project, I recommend a width of about 22 or 23 inches with proportions left intact. One option is to print it as a poster on cardstock, which you can then slice into more portable sections for easy transportation. When you play a game, you can pull them out of a folder and piece them together. If you do cut it up, it is probably best to use the equipment available at the copy center where you get it printed.
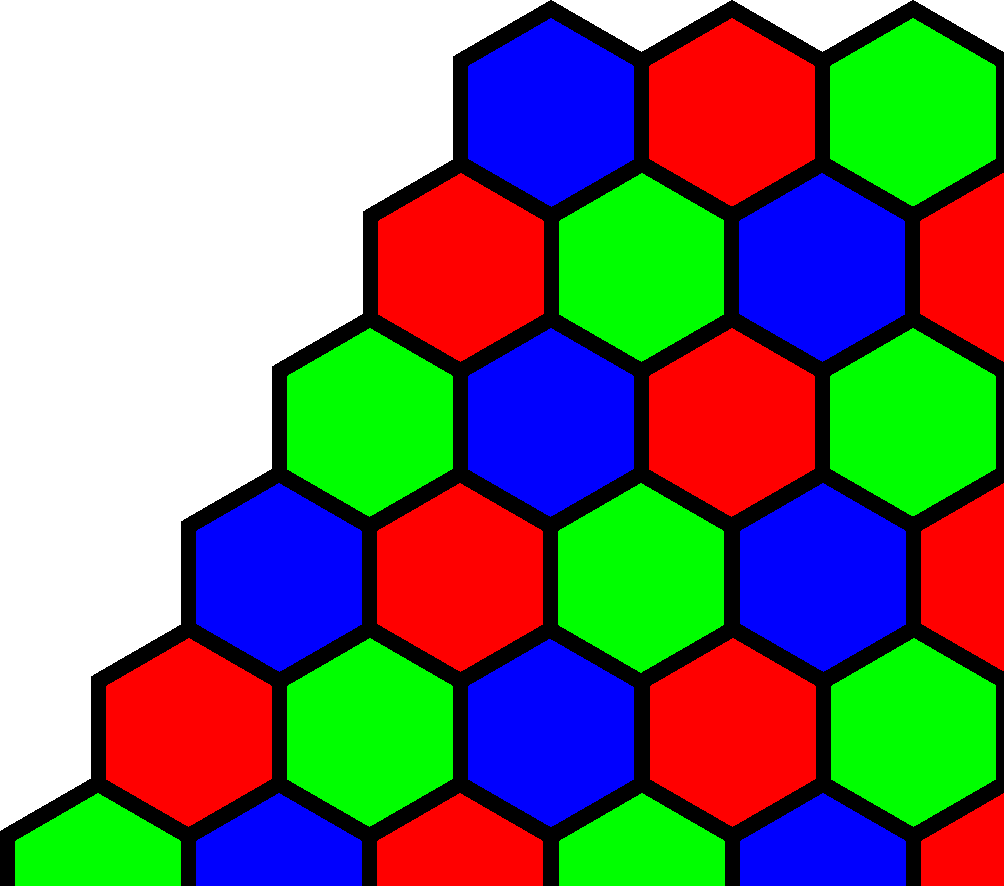
Four Quarters Option
The understanding behind this option is that you will print each quarter on a sheet of letter-sized or A4 material. Your best alternatives for what to print it on are cardstock or sticker paper. If you print it on cardstock, it will be more durable than paper, and you can easily store it in a folder as four quarters. If you print it on sticker paper, you can put it on a more durable surface, such as an old game board or an artist's canvas.
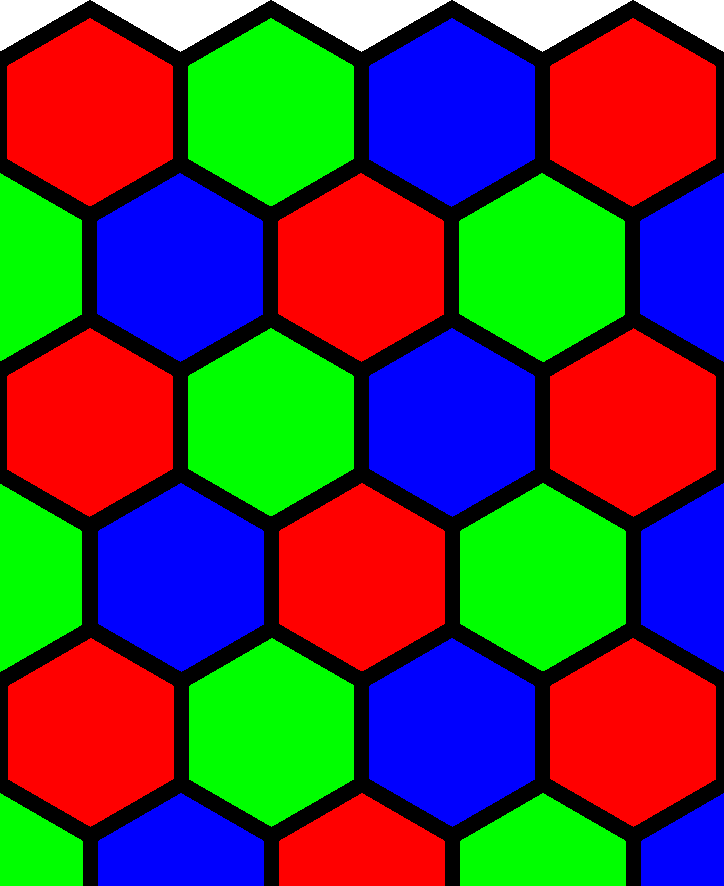
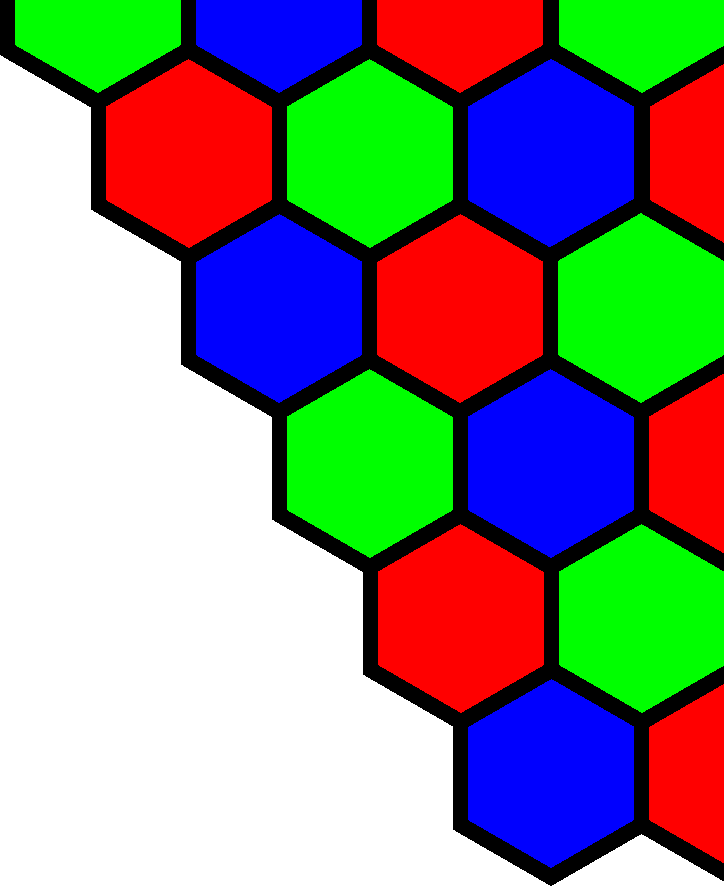
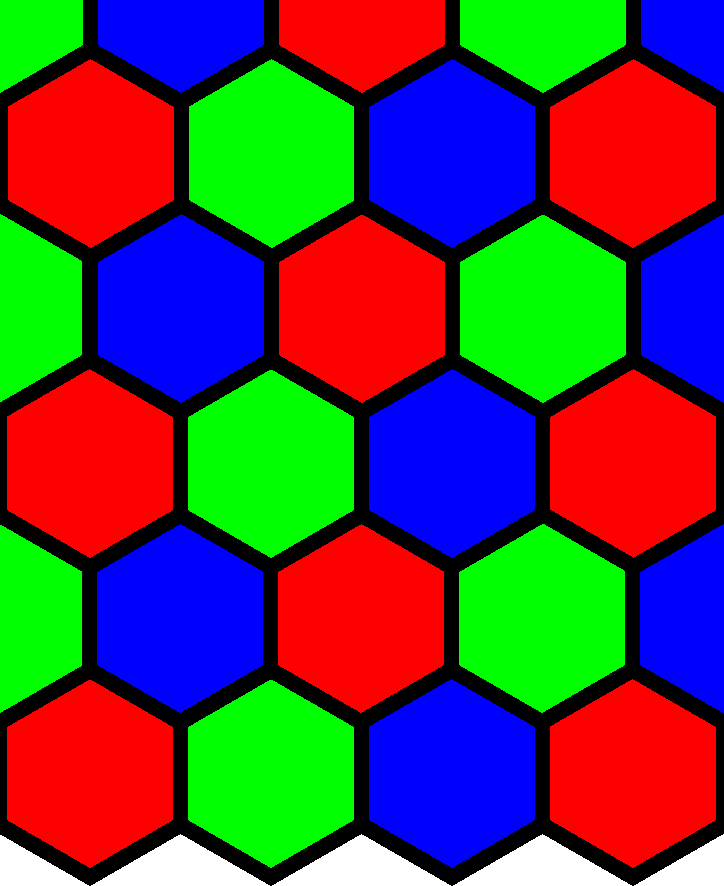
The hexboard shown below in drawn as a table of four thumbnails of four hexboard quarters. Each quarter is the same size. Print each quarter with the best fit option on the same size of material. Because they're all the same size initially, they will remain the same size when resized by the best fit option. Since the spaces are distinguished by color, it is best to get them all printed in color.
If you want the spaces as large as you can get them, be sure to get it printed in landscape mode. Since portrait mode is normally the default, you should specifically ask for landscape mode.
But if you plan to print them on sticker paper and apply them to an old game board, you should make sure that you don't print it too large for the board surface. Game boards are usually 15 x 15 inches, whereas printing in landscape mode will give you a full board that is larger than that. Printing in portrait mode may make it small enough to fit, but it depends on your margins. If you print a best fit in portrait mode on letter-size paper with half inch margins, your board will measure about 15 x 13.2 inches. If you find a used game board that measures at least 18.14 x 16, then go ahead and print each quarter in landscape mode.
Since each quarter will probably be printed with some margins, you should use the equipment at the copy center to cut along the edges of the printout. This will be more precise and even than doing it with scissors.
A link to each quarter is provided in the table below, which displays a thumbnail of each quarter in the position it should have in the final product.
 |
 |
 |
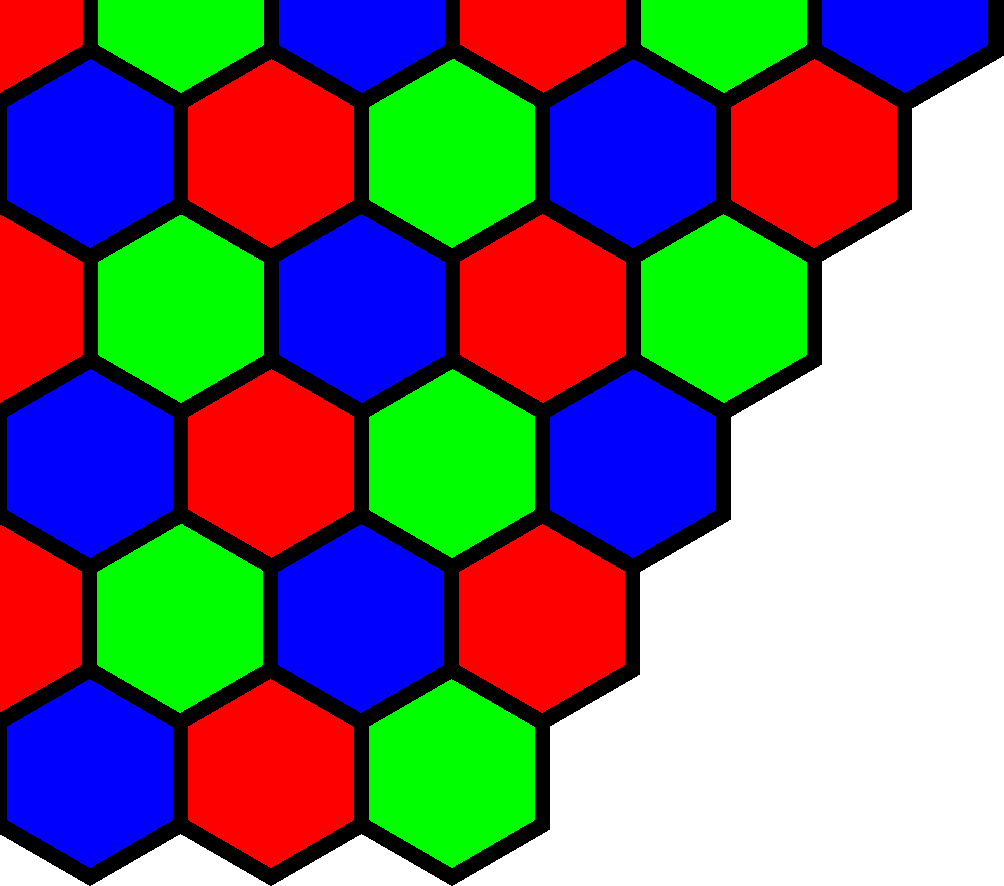 |
Six Piece Option
These six pieces should be printed in portrait mode on letter or A4 size paper. If they're printed with the best fit option on letter-size paper with quarter inch margins, the board should be about 22.19 x 19.57 inches. This is generally the optimal size for the Symbolic Shogi Pieces you can make as a separate craft project. It's also a good size for tournament sized Chess pieces.
If you did print these in landscape mode, your board would be slightly smaller than the largest you could get with the four quarters option. If you want a board that size, you'll save money by printing the four quarters instead of the six pieces.
So that these pieces would all come out the same size without cutting through too many cells, there is overlap on the left and right sides. Use the copy center's cutting equipment to cut off the overlap with precision.
 |
 |
 |
 |
 |
 |
How I Made My Own Board
Here are some photos of my own board. Click on the small image to view a larger image.
 |
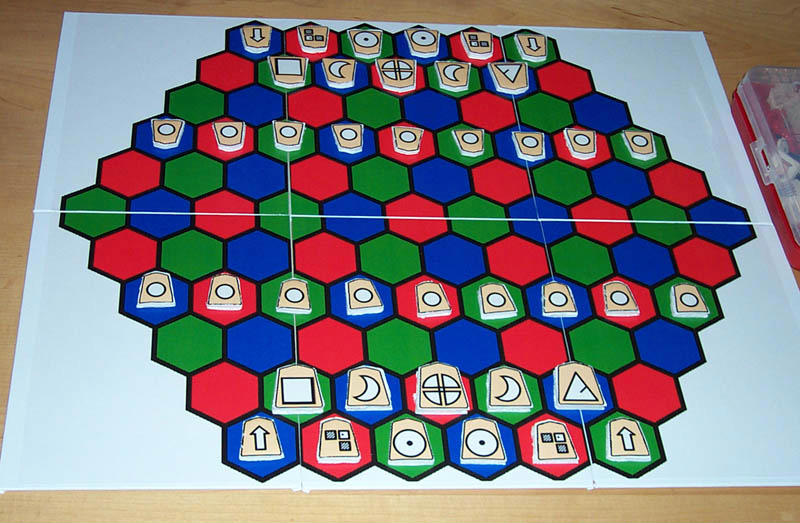 |
Since I wanted my board to be large enough to use with the Shogi pieces I had previously made, I went with the six piece option. I did the printing at Kinko's, though I recommend avoiding Kinko's if you have other options. At Kinko's, I got each image printed in color on a sheet of letter-size sticker paper. I learned that Kinko's policies recently changed. They now charge a ripping fee of approximately $10 for printing any file that isn't a PDF, KDF, or Postscript file. To avoid this highway robbery, I sent my images from one of Kinko's' computers directly to their printer, using Adobe Photoshop. This cost me an extra bit of money, as they charge through the nose to use their computers, though it was still a lot less than a ripping fee. Unlike Ultimate Paint, which is a fantastic program I recommend to anyone, Photoshop did not provide the option of doing a best fit while printing. So I had to resize each image individually. I set the width of each image to 8 inches, letting the height adjust automatically to some fraction of 9 inches. Since there was a big print job before mine, I had to wait a couple hours before the printouts were ready. In the meantime, I went to the local craft store to find suitable material for placing the stickers on. I chose to use six 8x10 inch quality artist canvas panels. The company that makes these panels is Fredrix. The panels seem to be about twice as thick as an average game board. When I returned to Kinko's, I used the equipment there to cut the printouts where needed. I applied one printout to each panel, making sure they all aligned well with each other. The results can be seen in the photos above. Not counting the fees for using their computers, making the board cost me approximately $18 plus tax. Each panel was $1.05, each sheet of sticker paper was $.99, and each color printout was $1.00. If quality and durability are not so important to you, you can get a much cheaper board of the same size by making black and white printouts on bond paper, then stapling them to sheets of cardboard. The colors used for the board contrast well even in greyscale.
Advance Warning About Kinko's
Kinko's charges a ripping fee of about $10 for each file that is not a PDF, KDF, or Postscript file. One way to avoid this fee is to use their own computers. But they will charge you a rate of $24/hour for this. To avoid any fees at all besides the usual costs of printing, you should put your files in one of the acceptable formats in advance. If you use Adobe software, you can probably create PDF files with it. If you don't have that option, you can get the Kinko's Prep Tool, which lets you create KDF files by acting as an extra printer driver. The software is free. You can pick up a free CD-ROM at Kinko's or download it from their website. You just print your file to it, then save it. You can then bring the KDF files to Kinko's for printing.
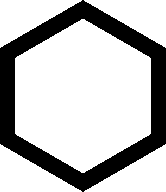
Building Blocks for More Hexagonal Boards
If you would like to make hexagonal boards of other shapes or sizes, here are some images you can use as building blocks. These are the images I made for drawing the 91-space hexagonal board.
Written by Fergus Duniho. Photos by David Howe.
WWW Page Created: 23 December 2001.